9 whelen edge lightbar wiring diagram
Make all wiring connections using the information in the wiring diagram. The Tahoe and Silverado have a retainer which holds the headliner to the visor clip ...6 pages Install grommets into all wire passage holes. •. If this manual states that this product may be mounted with suction cups, magnets, tape or Velcro®, clean the ...
Sep 15, 2014 — i have an old whelen edge 9000, and after doing a few searches on here and google, i cannot find the wiring diagram for this lightbar, ...Wiring help, Whelen Edge 9000 - PlowSite.comDec 13, 2008Whelen 9000 edge help - PlowSite.comFeb 7, 2008question about whelen edge 9000 - PlowSite.comFeb 15, 2008Whelen 4000 AdvantEdge+Plus Series Wire diagramFeb 24, 2010More results from www.plowsite.com

Whelen edge lightbar wiring diagram
Make sure that the harness cable does not bind up when the door is opened and closed. 6. Extend the wires to their destinations as shown in the wiring diagram.4 pages Position the lightbar onto the vehicle roof in the desired mounting ... Check the light bar ... Follow the factory wiring harness through the firewall.6 pages Route the cable along the factory wiring harness to the battery. 4. Install a 30 amp fuse block (customer supplied) on the end of the RED wire in the power ...5 pages
Whelen edge lightbar wiring diagram. Route cable along the factory wiring harness towards the battery. 4. Install a fuse block and fuse (customer supplied) on the end of the. RED wire in the power ...6 pages This document provides all the necessary information to allow your Whelen product ... Route the cable along the factory wiring harness towards the battery.6 pages Route the cable along the factory wiring harness to the battery. 4. Install a 30 amp fuse block (customer supplied) on the end of the RED wire in the power ...5 pages Position the lightbar onto the vehicle roof in the desired mounting ... Check the light bar ... Follow the factory wiring harness through the firewall.6 pages
Make sure that the harness cable does not bind up when the door is opened and closed. 6. Extend the wires to their destinations as shown in the wiring diagram.4 pages
Whelen Edge Lfl Wiring Diagram

Whelen Strobe Light Bar Wiring Diagram - Wiring Diagram
Wiring Diagram Whelen Strobe Bar / Collection Of Whelen ...

Whelen Freedom Lightbar Wiring Diagram | Free Wiring Diagram

Whelen Light Bar Wiring Diagram - Wiring Diagram

Whelen Edge 9000 Light Bar Wiring Diagram - Database ...
Whelen Edge Lightbar Wiring Diagram - Diagram For You
Whelen 295hf100 Wiring Harnes - Complete Wiring Schemas
Whelen Light Bar Wiring Diagram | Wiring Diagram

Whelen Edge 9000 Wiring Schematic - Wiring Diagram

Whelen Justice Lightbar Wiring Diagram | Free Wiring Diagram

New York city as seen from The Edge

Wiring Diagram: 31 Whelen Control Box Wiring Diagram
Whelen Light Bar Wiring Diagram - Collection - Wiring ...

Whelen Edge 9000 Strobe Light Bar Wiring Diagram - Wiring ...

Whelen Light Bar Wiring Diagram - Wiring Diagram And ...

WHELEN Liberty LFL Lightbar I/O Board with Wiring Harness ...

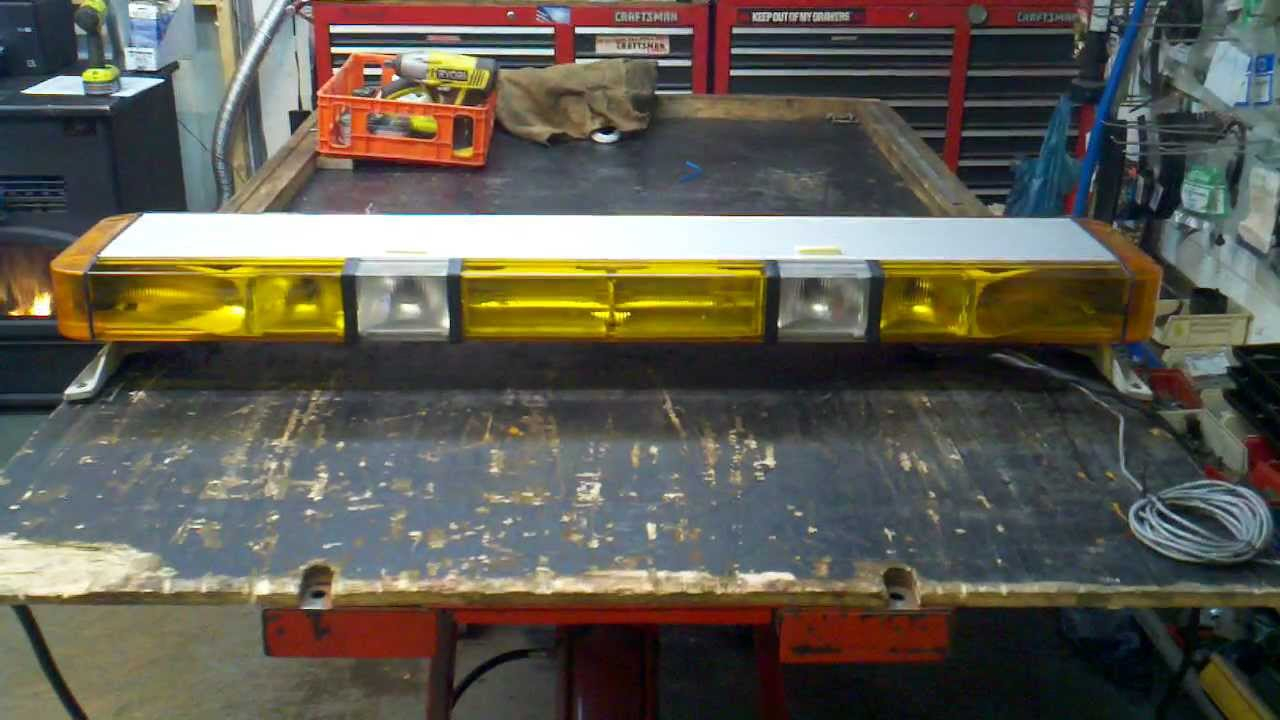
Whelen Edge 9000 Lightbar - YouTube

Whelen Liberty Lightbar Wiring Diagram - Wiring Diagram

30 Whelen Edge Lightbar Wiring Diagram - Wiring Diagram ...

20 Lovely Whelen Justice Wiring Diagram
28 Whelen Liberty Lightbar Wiring Diagram - Wiring ...

Whelen Edge 500 Series Light Bar Wiring Diagram - Database ...

Whelen Edge 9000 Wiring Diagram — UNTPIKAPPS

Whelen Edge Lightbar Wiring Diagram - Hanenhuusholli

Whelen Edge 9m Wiring Diagram

Whelen Edge 9000 Wiring Diagram

Whelen Edge 9000 Wiring Diagram

Whelen Ion Duo Wiring Diagram - Wiring Diagram
Whelen Justice Competitor Lightbar Wiring Diagram - Wiring ...

Whelen Liberty Lightbar Wiring Diagram - Wiring Diagram

whelen edge 9000 wiring diagram - Wiring Diagram

Whelen Liberty Lightbar Wiring Diagram - Wiring Diagram

If you would like to see more check out my other photos on my unsplash account and on the other social sites. If you would like to contact me for more details on Instagram messenger or facebook messenger here are the links: Facebook: https://www.facebook.com/sebastianphotographys/ Instagram: https://www.instagram.com/sdh_photos/ Youtube: youtube.com/channel/UC-Uya07zNvlImsAWdgQ4ujA

25 Whelen Edge 9000 Wiring Diagram - Wiring Database 2020

Whelen Edge 9000 Light Bar Manual | Decoratingspecial.com
Whelen Justice Wiring Diagram

Whelen Liberty Ii Lightbar Wiring Diagram - Wiring Diagram
Whelen Liberty Lightbar Wiring Diagram - Wiring Diagram


Comments
Post a Comment